


Tech Support Centre Bolton
How Can We Help?
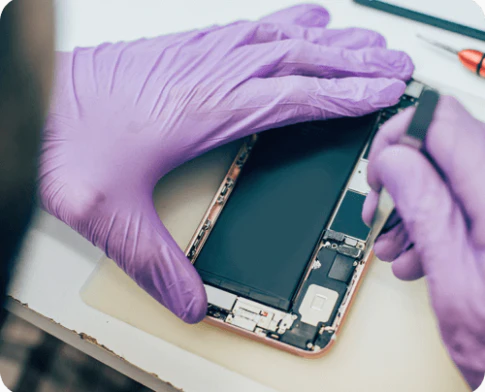
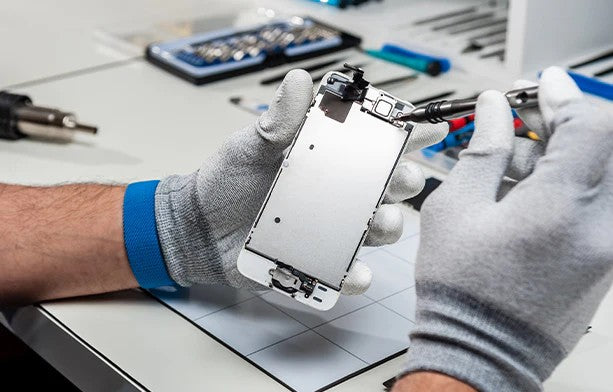
Our skilled and friendly team delivers reliable device support from our Bolton repair centre. Our experienced technicians provide quick turnaround on common device issues, helping you get back up and running as soon as possible.
We use high-quality parts so we can confidently offer a 12 Month Warranty. We also provide a Price Match Promise, we can match or beat any genuine quote.
If you can’t pop into the store, we offer a secure mail-in service nationwide. Within 20 miles of Bolton, we can also come to you.
We proudly support customers across Bolton and surrounding areas, including Manchester.
Walk In
Post In
Call Out
Why Choose Us?
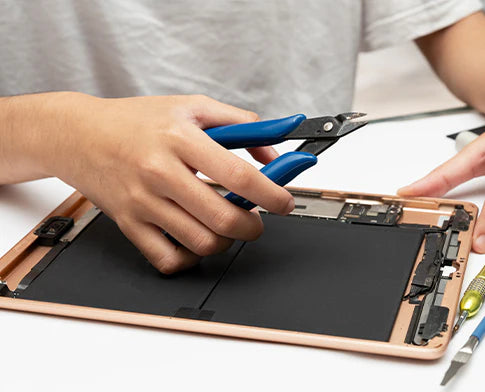
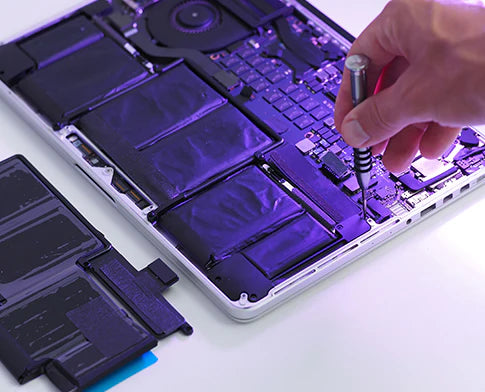
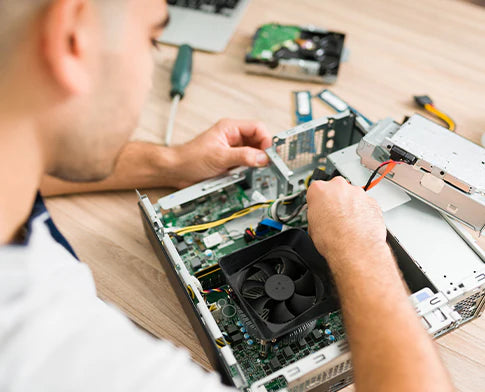
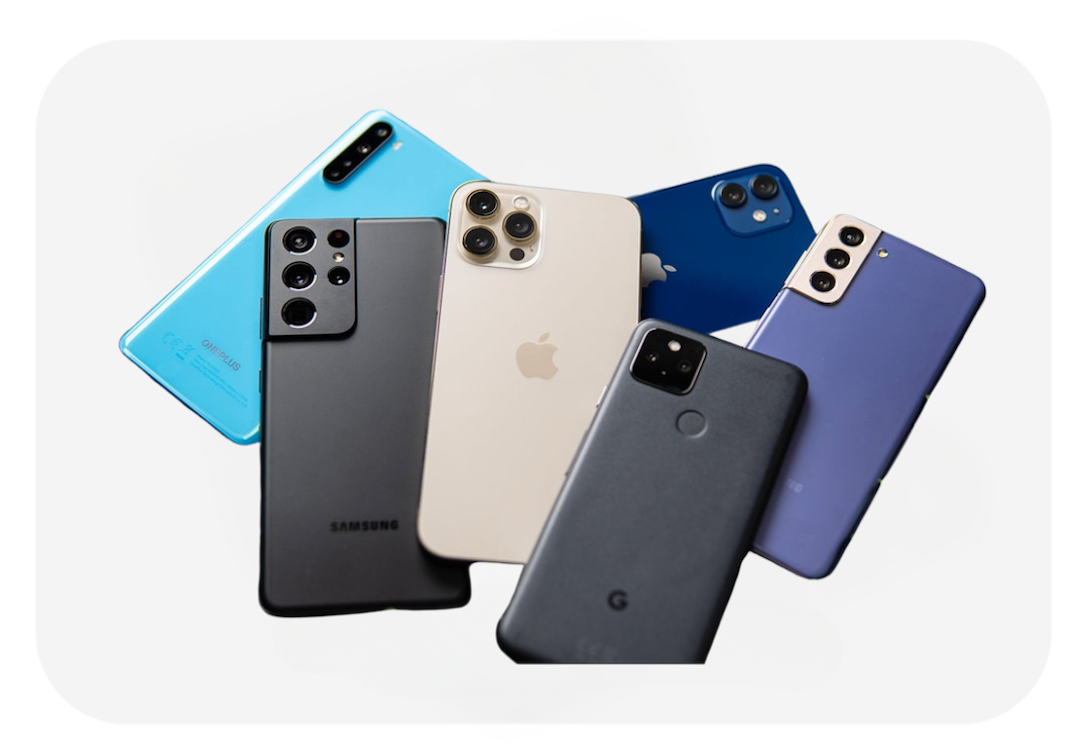
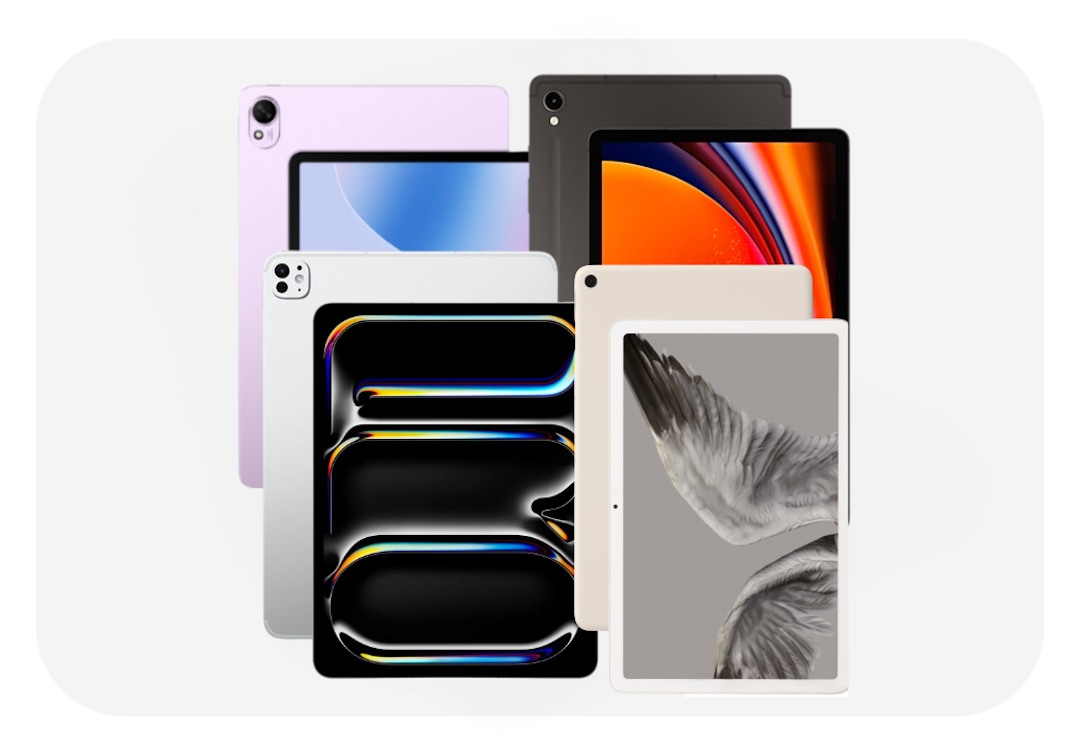
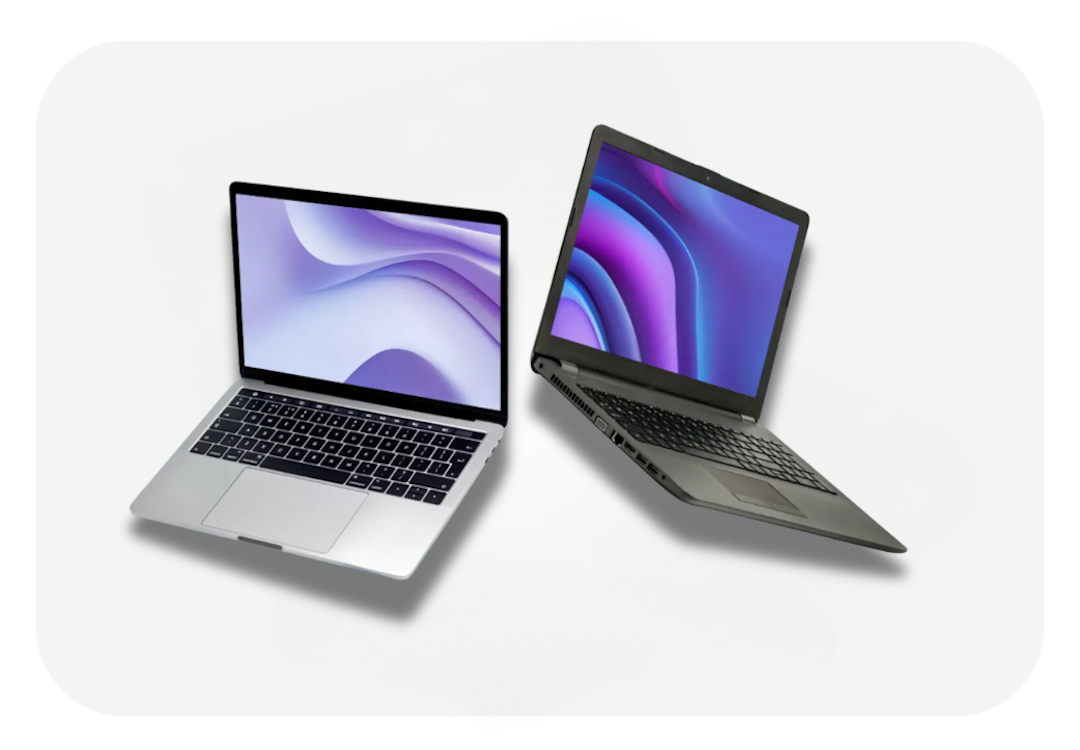
imFixed provides expert repair services for Apple, Samsung, Google and other leading brands across phones, tablets, laptops and consoles throughout the UK. Our experienced technicians deliver fast, reliable solutions for diagnostics, performance issues and complex hardware repairs.
As an Apple Independent Repair Provider, we have access to genuine Apple parts for eligible iPhone, iPad and Mac repairs, alongside our professional repair services for other major brands.
With a strong focus on quality, transparency and data safety, we have earned the trust of thousands of customers by delivering dependable service and clear pricing every time.
Why Our Clients Prefer Us To Our Competitors?
Low Price Guaranteed
We ensure that you get the best Phone repair services at the lowest price possible, and we do that for just a simple reason – We care more about the phone than the money. Our pricing beats every competition around us, yet we are known for excellent Phone repair services.
To ensure you stay within your budget, we will give you a detailed price quote after our free diagnostic test to know upfront what to expect and compare the services with the pricing.
No Repair, No Charge
Our techs perform every repair with verified diagnostic software for free. With that, you can know the actual fault and the solutions required without dropping a dime providing accurate solutions is our top priority.
Our highly experienced technicians are also available to give you free professional advice to guide you on using your phone safely to avoid further damage.
Quick Repair Process
We offer super-fast and reliable Phone repairs regardless of the complexity of the problems. We know how important your Phone is to you, so we do everything in our power to make sure you get your phone back in the best working condition as quickly as possible.
imFixed is an oasis of experienced and certified technicians who have the expertise to complete even the most complex repairs within a few hours. Speed and timeliness are some of the reasons our clients remain loyal to us.
12 Month Warranty
Do you know why we give a whole year’s guarantee to all our customers? It is because we are confident of our professionalism, experience, and competence. We use only genuine Phone parts for all our repairs to ensure long lasting solutions for your Phone.
Not only that, our technicians work with only verified tools. Hence, you can rest assured that your Phone is in safe hands.
Price Promise
We ensure that you get the best Phone repair services at the lowest price possible, and we do that for just a simple reason, We care more about the phone than the money. Our pricing beats every competition around us, yet we are known for excellent Phone repair services.
To ensure you stay within your budget, we will give you a detailed price quote after our free diagnostic test to know upfront what to expect and compare the services with the pricing.
No Fix, No Fee
Fast Repairs
12 Month Warranty
Qualified Experts
Over 20K Happy Customers
Your Data Stays Safe